Showing posts with label Our House. Show all posts

March 14, 2011

Personalized Wall Art


This afternoon I finally got around to making Ally's name art for her bedroom. I've been meaning to do this for awhile. Projects like this are fun and easy, not to mention inexpensive. The overall project is so much cheaper than buying pre-decorated letters, and it's also more rewarding. Everytime I see little things like this around the house that I took the time to make I appreciate them way more than had I just bought them from a store. Anywho...

Here's a tutorial on Ally's personalized wall art:

I bought these letters from Hobby Lobby for a couple bucks each.


First I painted the edges with some craft paint I had lying around.


Then I picked the paper that I was going to use.


Next, I used Mod Podge and a foam brush to apply the paper.


Make sure you put the paper on the right side the first time... (unlike me! I always mess up at least once when I do projects like this).


Took a break to feed the baby.


Used an exacto knife to cut around the letters, and then sanded down the edges.


And last but not least, embellished!


I wanted to keep them pretty simple so I only used a few embellishments.


March 11, 2011

Cheap & Easy Wall Art

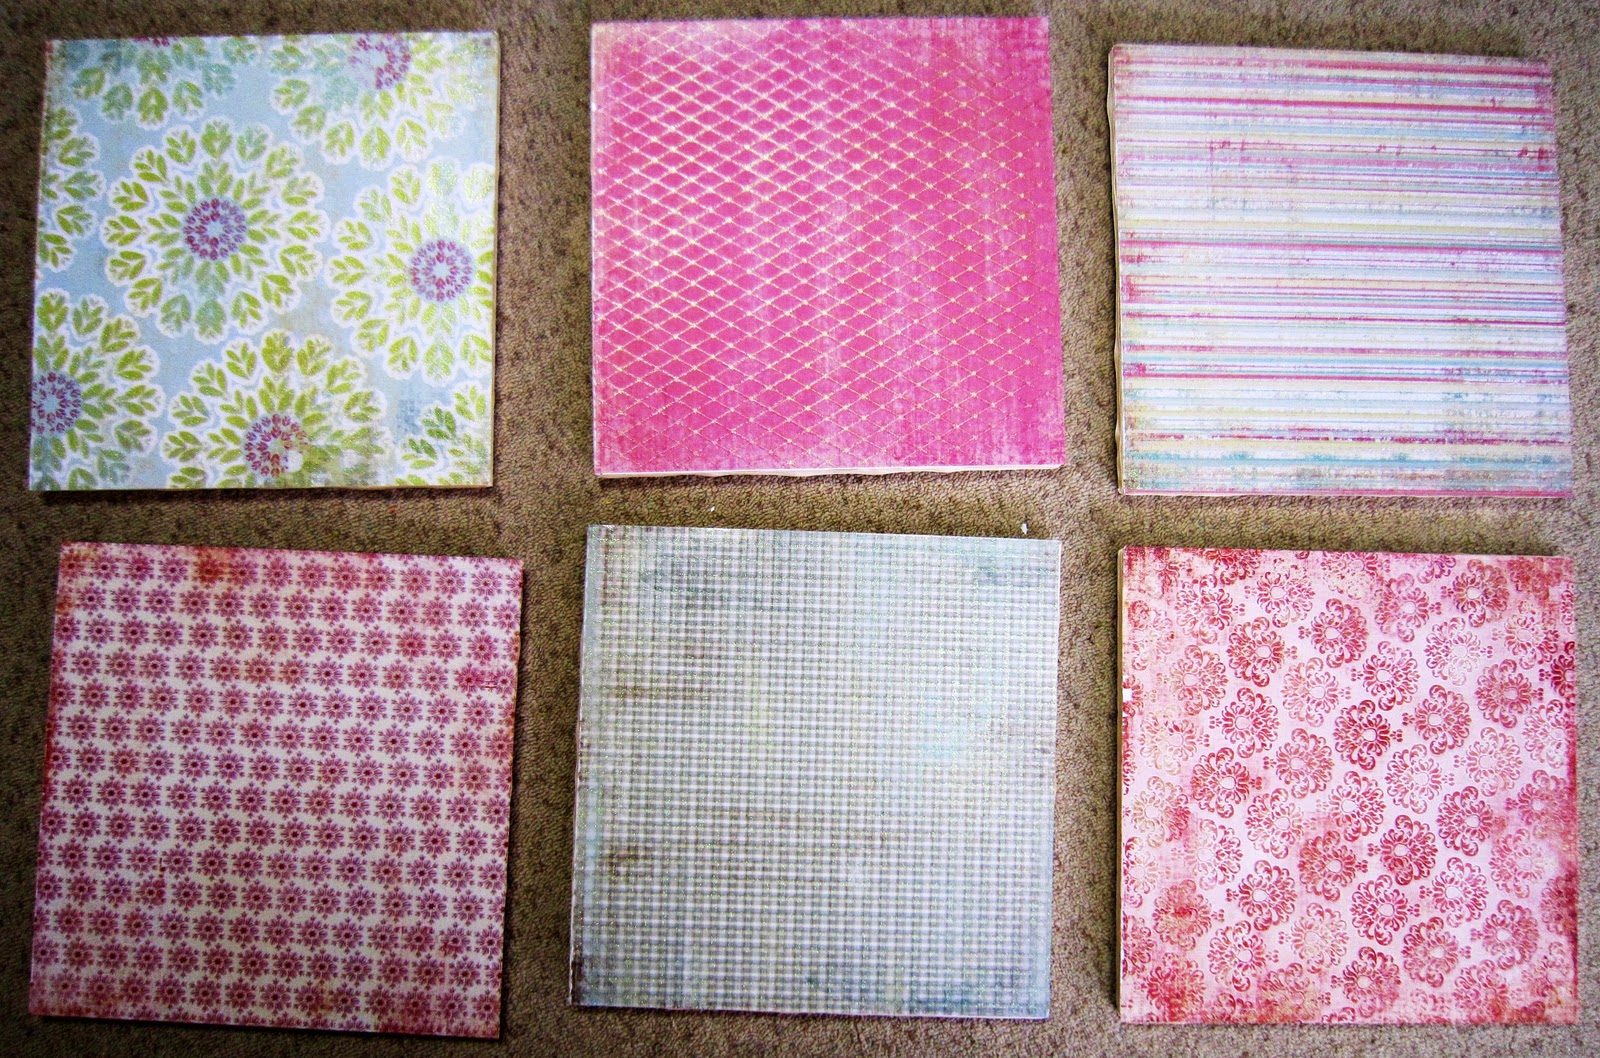
If you Google "DIY Wall Art" you can find a ton of cute and often cheap ideas. This is just one of them. I first came across this idea at our previous home and knew it was something I could do in a very short amount of time. I bought some foam board from my local craft store, had Chad cut 6 squares, each 12 X 12, found some cute scrapbook paper, picture hangers and spray adhesive. This is what I originally came up with and had hanging at the other house:


I didn't have any place to put these particular colors in our new home and while I was cleaning the gameroom I decided to give them a makeover. Luckily for this project I had used the spray adhesive so I was able to remove the old paper easily. (Had I used something like Mod Podge I most likely would have just started from scratch.)


All I did was find some new paper I liked and adhered it to the foam board by using the spray adhesive once again.


Here's how I hung them:


My finished product:


Very cute and very girly! And in the event that I ever get a real craft room and these colors don't coordinate, I can easily give them another makeover or hang them in Ally's room.

January 24, 2011

Little Girl's Room

     Ally transitioned surprisingly well when we moved into our new house. Prior to moving she was still sleeping in a crib (she had just turned two), but we thought it would be the perfect time to upgrade her to a big girl bed. For the first couple of weeks she actually slept on a mattress on the floor in the baby's room while we got her room set up. Chad and I picked out the color of her room together, which is a very soft pinkish-purple. (He was sick of pink everywhere he turned so we tried to tone it down a bit.) I'm sure sometime in the future I might play around with new decorations and maybe even try to do something different with the furniture, but we worked with what he had and this is how it is for the time being:

BEFORE


AFTER


     I'd like to find or make some art to put on the wall around her bed, figure out something to hide the clutter in her closet, and maybe someday in the distant future I'll paint her furniture and replace the knobs just to update the look a little more. I can't complain too much because we got all the furniture for free. I gave the bookcase a couple fresh coats of the same white we used on the trim. The curtains were in our living room at our old house and they were meant to be temporary, but I think I like them.

LinkWithin

Related Posts Plugin for WordPress, Blogger...